
Green is the color that made me dread teaching color mixing. Not because it is hard. Because it goes wrong so quietly. You touch a blue to a yellow, the puddle looks right in the tray, you lay it into a leaf, and twenty minutes later it has dried into something that looks like the paint on a garden shed. I watched a woman in my Thursday class at the library nearly give up on a sunflower because of one muddy stem. She had done nothing wrong. She had just mixed it in the wrong order.
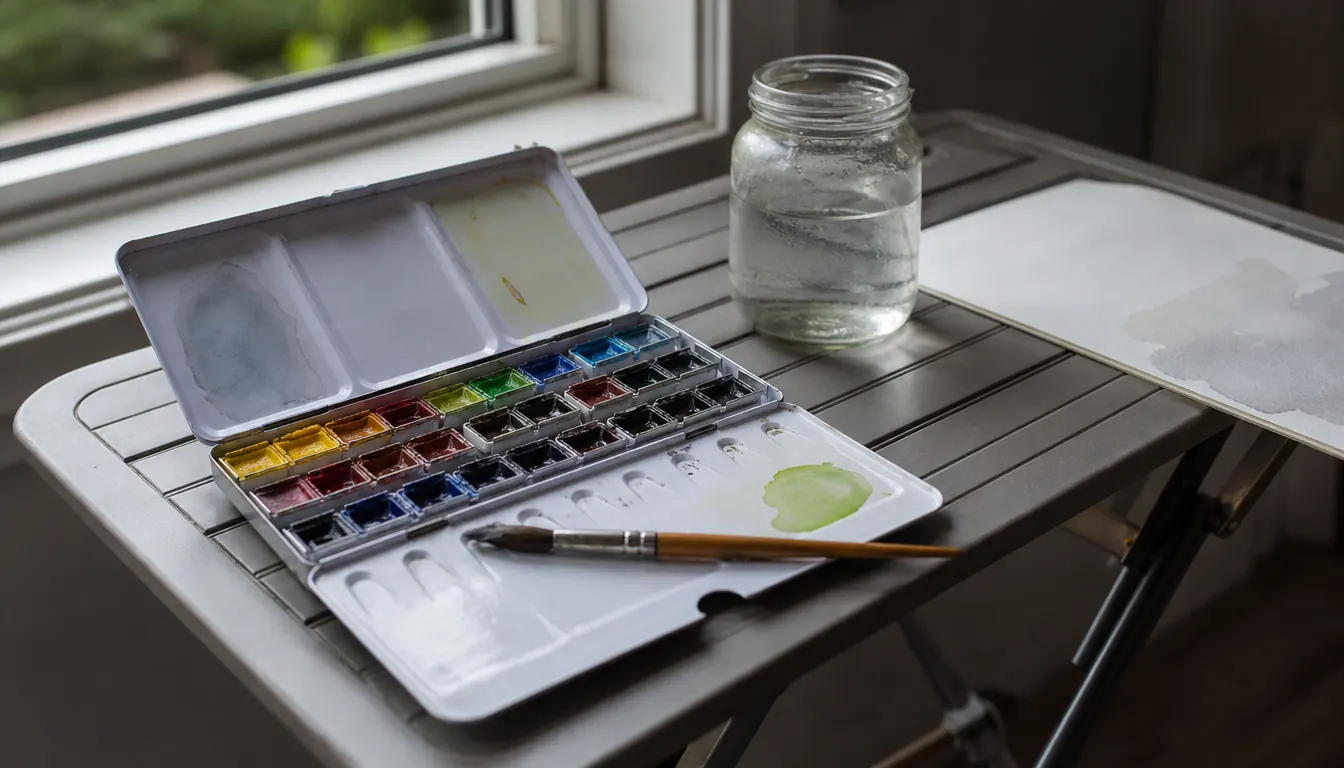
I have painted in watercolor for about 22 years, and for roughly three of them the Winsor & Newton Cotman 45 Half Pan Studio Set has been my everyday paint. It is what sits open on the folding table in my spare bedroom most mornings, and it is what I tell the six adults in that class to start with. What it gives you for green mixing is simple, and it is the reason I like it: enough different blues and enough different yellows in one case to build a whole spring garden without opening a tube.
One case, enough blues and yellows to mix an entire garden
The 45 half pan studio set has the mixing tray built into the case, so the puddle is always right where you need it. This is the paint I use on my own table every morning.
Amazon Check Today's Price on Amazon →Here is the thing that took me years to accept. A green made from exactly two colors is almost never the green you are looking at. It is close enough to fool you while it is wet and flat, and then the paper dries and the life goes out of it. The fix is not a better brush or a more expensive paint. It is the order you work in, and the amount of patience you are willing to spend on a puddle.
Step 1: Sort Your Blues and Yellows Before You Touch Them Together
Before you mix a single leaf, sort the box. Take a scrap of the paper you actually paint on and make a wet swatch of every blue in the set, one beside the other, with a pencil note under each. Then do the same for the yellows. Twenty minutes of sorting pays you back for years, and it works for any set, not only this one.
I did this sorting in a single sitting about two years ago, with a cup of tea and the radio on, and it took me just under forty minutes for the whole box. I wrote the results on a strip of masking tape stuck inside the lid. That tape is still there. When a student asks me which yellow to use for hosta leaves, I turn the lid over instead of guessing.
Once the swatches are dry you can see the two families clearly. Some blues lean toward violet. Some lean toward green. The yellows split the same way: some are sharp and green-leaning, some are soft and orange-leaning. The label on the pan gives you the name, but the dried swatch tells you what the color will actually do when it meets another one.
This is the rule I write on the board for my class. A green-leaning yellow mixed with a green-leaning blue gives you the clear, bright greens of new leaves and lawn grass. An orange-leaning yellow mixed with a violet-leaning blue gives you something much closer to olive. Neither one is wrong. You just have to know which of the two you are building before the brush touches the puddle.
Step 2: Keep the Puddle Off the Pans
Half pans are small and shallow and they forgive almost nothing. Dip a brush that still holds blue into a yellow pan and you have planted a bruise in that yellow that will not wash out. Two sessions later you are squinting at the box wondering why every yellow has gone slightly grey.
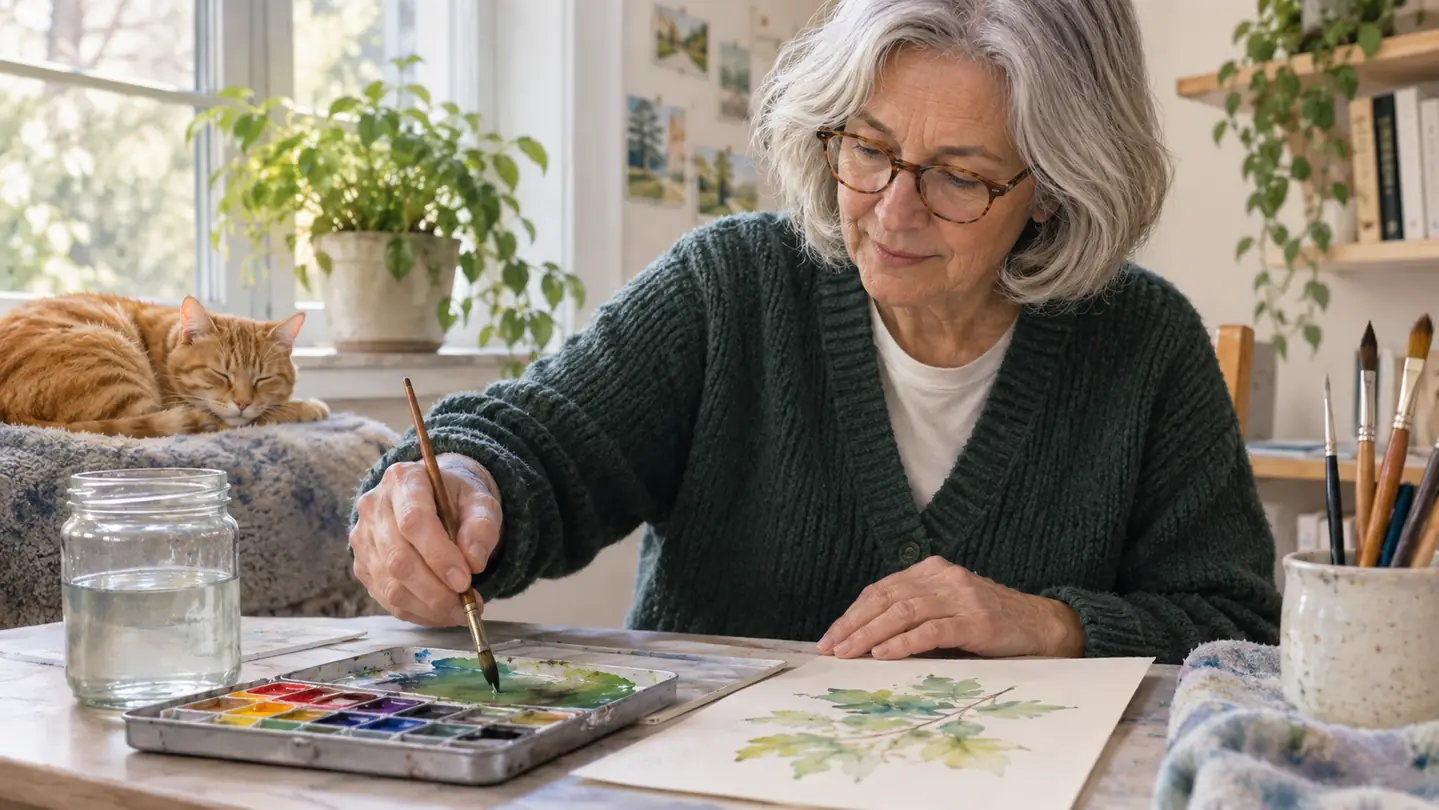
Load the brush once, drop the color onto the mixing tray, then rinse the brush in the jar before you pick up the second color. In the Winsor & Newton set that tray is built into the case, so it is always right there under your hand, which is the main reason the box stays open on my table for two hours at a stretch. Wet pans, clean water, color on the tray, and nothing else.
Start with more yellow than blue. Foliage in daylight is really a yellow that happens to look green. Two parts yellow to one part blue is a good place to begin, and you can push the blue in a quarter at a time until it looks like the leaf in front of you. The reverse, mostly blue with just a touch of yellow, is what you want in deep shadow and in the dark greens under a hedge.
Step 3: Knock the Green Back with a Third Color
No green in a real garden is made of only two pigments. There is always something else in there, warmth from the sun or cool from the sky, and that third color is the difference between a leaf and a plastic toy.
So add a very small amount of the opposite. If the green is too acid and sharp, a touch of a warm red will settle it down. If it has gone flat and grey when you wanted spring, a touch of orange will warm it back up. If it has already gone brownish, you have overdone the warm side and it is easier to start a fresh puddle than to rescue that one.
The amount is smaller than you think. I tell my class to touch the very tip of the brush to the red pan, then stir the green puddle three times. Three stirs. That is usually enough, and a fourth is easy to add. What you cannot do is take one back out.
The warm color is the dangerous one, so add it last and add almost none. My first attempt went the wrong way: I touched a brush loaded with red straight into the green and turned the whole puddle into something you would find at the bottom of a pond. Now I make a weak puddle of the red on a clean spot of the tray first and pick up from that. It gives me a much weaker dose and far more room to stop.
A green that looks right in the tray will dry paler and duller than you expect. I stopped trusting the tray years ago and started trusting the paper.
Step 4: Prove the Mix on the Paper Before You Commit
Watercolor dries lighter and less saturated than it looks when it is wet. That single fact ruins more greens than any mixing mistake. The leaf that looked like deep summer in the tray comes back from drying looking like a tired pea.
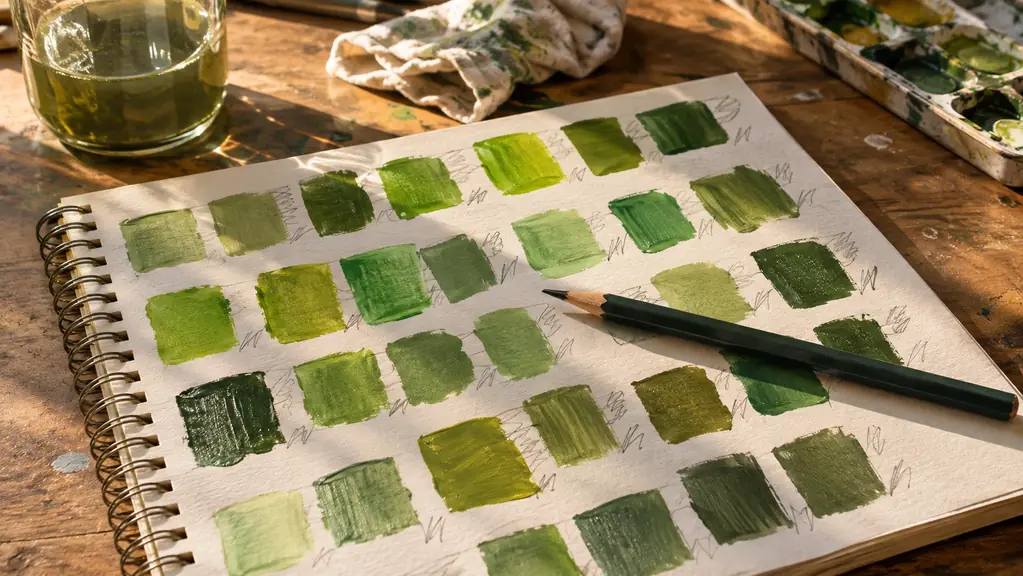
So keep a strip of your paper at the edge of the board and test on that. Three strokes is enough: one thin, one medium, one heavy. Let them dry while you work on something else, then hold the strip next to the leaf and adjust the next puddle.
I paint on Arches cold press blocks, 7 by 10, 140 pound, and I go through about one a month. It is glued on all four sides so the sheet dries flat, and a flat sheet is what lets you judge a green honestly. For quick demonstrations I use a cheaper spiral pad, and I can tell you the same mix looks different on it. Write the recipe in pencil beside your test stroke. Two blues, a yellow, three stirs of red, mostly water. Six weeks from now you will not remember, and the note will.
Last spring I spent a whole morning on a single clump of ferns and mixed eleven puddles before one of them was right. The eleventh was a green-leaning yellow, a green-leaning blue, and roughly two stirs of a warm red. The note beside it on the strip says two parts yellow, one part blue, two weak stirs of red, and I have used that same recipe for every fern since.
The box helps here more than you would guess. Forty five half pans means you are not rationing, so you can afford a decent sized puddle instead of a stingy one, and a decent puddle is far easier to read.
Step 5: Let It Dry Before You Judge It or Fix It
The hardest instruction I give beginners is to stop touching the paper. A wash goes down, the color looks wrong, and the hand goes back in while the surface is still half wet. That is how you get a bloom: the water pushes pigment out to the edge and leaves a hard ring that no amount of later glazing will hide.
Wait. On a cold press sheet the surface will be dry in a few minutes and properly dry soon after. If the green is still darker than you want once it is truly dry, glaze a second, weaker green over the top rather than flooding the first one. Two thin layers beat one heavy correction every time.
If it is too dark and you want it lighter, a clean damp brush and a light touch will lift a good deal of the color, though it will not come back to white paper. Let that dry before you paint into it again. I have lifted the same leaf three times in one morning and it worked. I have also gone back in too early and wrecked an entire stem, which is why I now keep a scrap of paper on the table and practice my impatience on that.
I learned that the hard way on a runner bean vine I was painting for my sister in Hagerstown. I went back into the wash while it was still tacky, the pigment pushed out to the edge, and a hard ring dried around the leaf. I could not lift it out. It reads as a shadow now, and honestly it looks better than the flat leaf did, but that was luck and not planning. These days I set a kitchen timer and go rinse a brush until it rings.
What Else Helps
Paper comes first. A block that stays flat keeps the wash where you put it. A thin student sheet buckles, the green pools in the dip, and you end up with a dark tide mark where you wanted an even leaf.
Brushes matter more than people expect. I have used a Transon eight piece round goat hair set for about eighteen months. The bigger rounds carry enough water for a wash and the points are still sharp enough for stems. Rinse them after every session, reshape the point with your fingers, and lay them flat to dry. A brush that dries point up will lose that point.
Keep your water clean. Two jars, one for rinsing and one for mixing. Greens go dull faster from dirty water than from any mistake with ratios, and it is the cheapest fix on this whole page.
And a palette with a lid. I use an 18 well airtight one, and I bought it the week my cat Biscuit walked through an open palette and tracked blue across a finished painting. I squeeze tube color into the wells, let it set, and mist it before a session. The Winsor & Newton half pans in the studio set already have their own lid, which is half the reason that case is the one that stays out on the table while everything else goes back in the drawer.
Start with the box I keep open on my own table
45 half pans, a mixing tray in the case, and a lid that closes. Three years of daily use on my table and the pans are still seated properly. It is also the set I hand beginners in my Thursday class.
Amazon Check Today's Price on Amazon →