There is a particular minute in a watercolor when the painting decides what it is going to be. The wash looks even, the color is right, and then you walk away for ten minutes and come back to a sheet with a wave along one edge and a hard brown line where the water pooled at the bottom of it. I taught middle school art for 31 years before I retired, and I have watched more beginners lose a painting to their paper than to their brushwork.
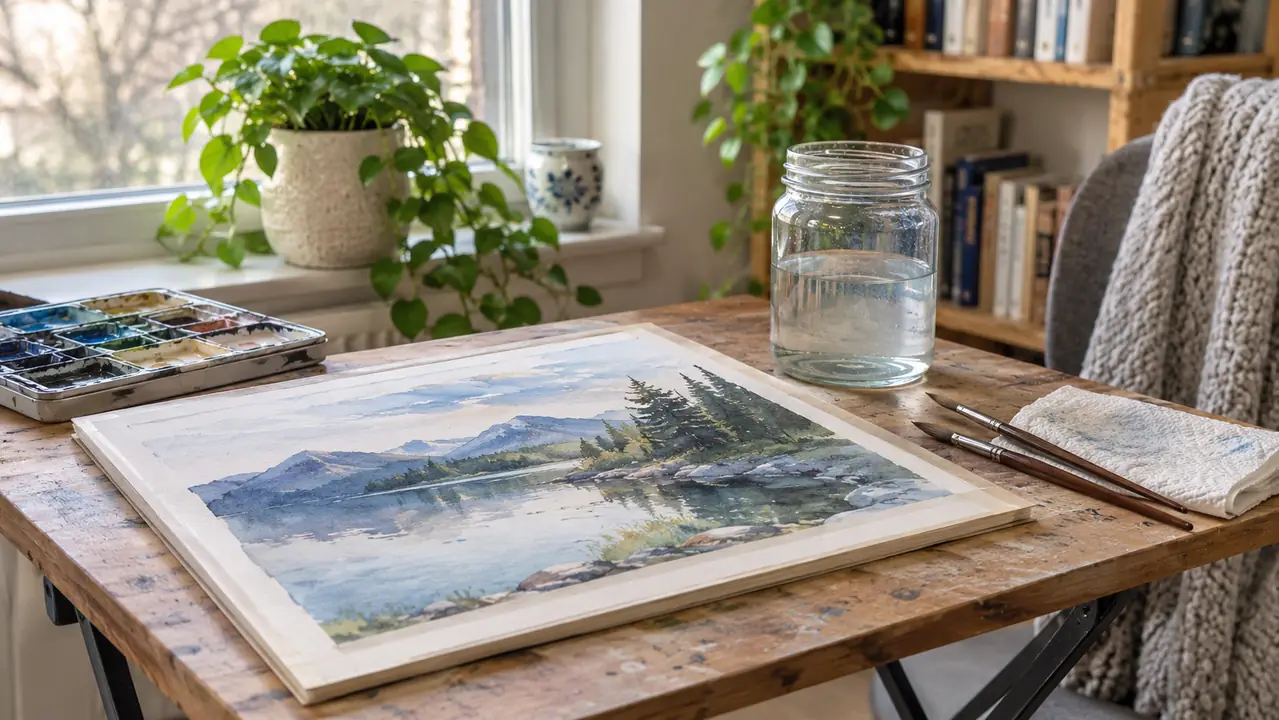
The usual advice is to tape the sheet down harder, or stretch it on a board with staples, or buy something heavier and hope. Taping holds until the middle of the sheet swells. Stapling works, but it costs you twenty minutes and a staple gun before you have mixed a single color, and then the board takes up your whole table. What I do instead, and have done for about eight years, is paint on an Arches block: 20 sheets, 7 by 10 inches, 140 lb cold press, glued on all four sides so the top sheet has nowhere to go when it gets wet.
What follows are the five steps I walk my Thursday evening class through at the library branch, plus a few things that help around the edges. Lifting color and preventing buckling turn out to be the same skill seen from two directions. Both come down to how much water is in the paper and how long you let it sit there before you decide what to do next.
Stop taping. Start with a sheet that is already held flat.
Arches cold press blocks are glued on all four sides, 20 sheets to a block, 7 by 10 inches, 140 lb. Cylinder mould made and tub sized, so the sheet takes water the same way every time. It is what I paint on most mornings.
Amazon Check Today's Price on Amazon →Step 1: Work on a Surface That Cannot Buckle
Buckling is not a mystery and it is not a character flaw in the painter. Paper is a mat of cellulose fibers, and when those fibers take on water they swell across the sheet. If the edges are pinned and the middle is free, the middle has to go somewhere, so it lifts into a run of shallow waves. Every wash after that runs downhill into the hollows and dries with a tide line along the ridge.
On an Arches block, all four edges are glued down. The sheet swells and still cannot lift, so it stays flat even under a flooded sky. At 140 lb the paper is heavy enough to hold a wet wash without going limp the way a thinner student sheet does. I go through roughly one block a month and I have not taped a single sheet in years.
One thing to understand about a block, because people get this backwards. You do not stretch it and you do not wet it first. You paint on the top sheet, let it dry completely, and then run a palette knife around the four glued edges to free it. The sheet underneath is already glued and waiting. That is the entire system, and the difference you notice first is not about the paint at all. It is that the paper is still flat at the end of the session. I had a student last winter who taped a thin sheet on all four sides, flooded her sky, and spent the rest of the hour watching the water slide into the middle. She moved to a block and the same sky stayed exactly where she put it.
Step 2: Keep Less Water on the Paper Than Feels Right
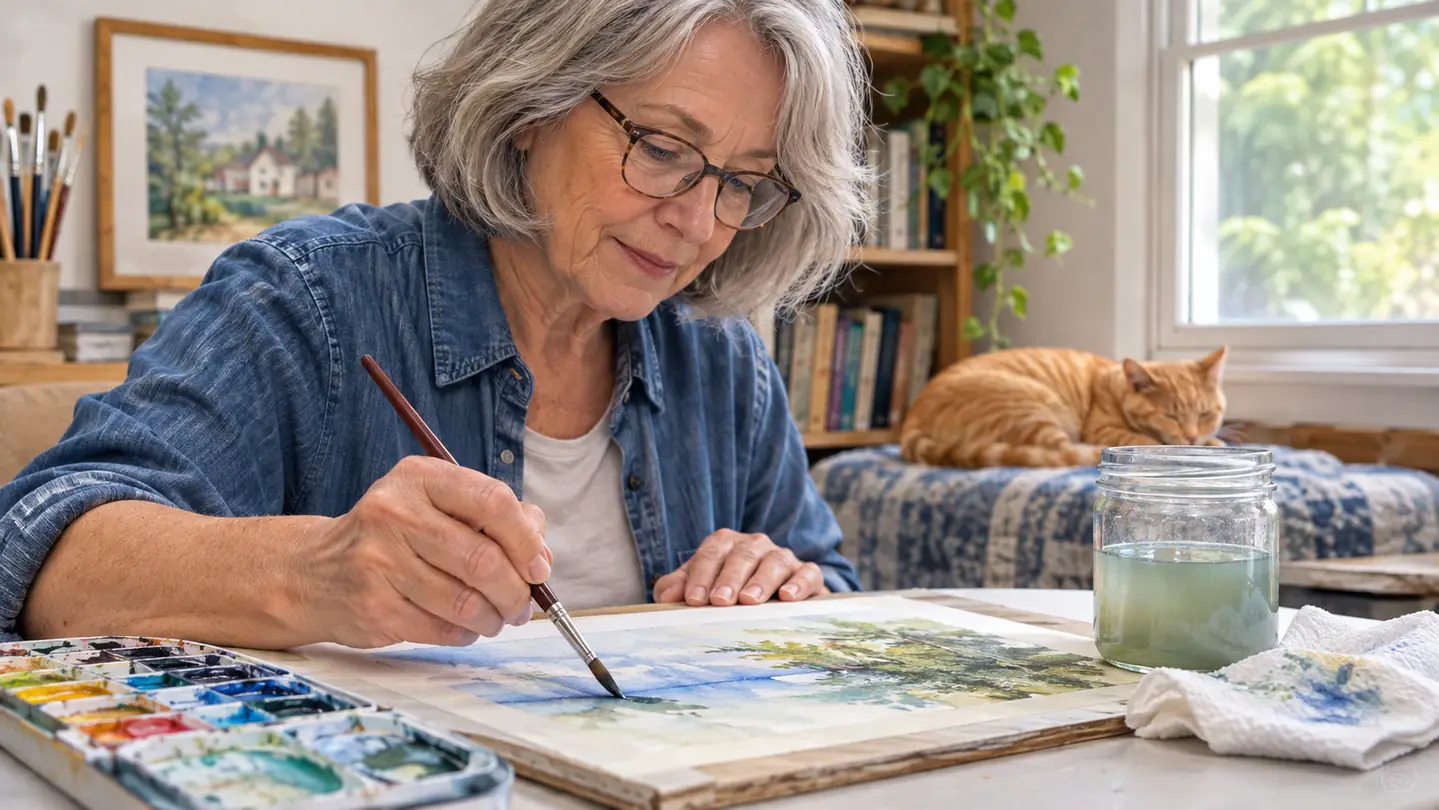
Most of the buckling I see in class happens in the first two minutes, when someone loads a big round and floods the sky. A brush holds more water than the paper wants. The larger goat hair rounds in my Transon set will carry a surprising amount, and going straight from the water jar to the sheet puts a puddle on a surface that only needs a sheen. Watch a room full of beginners and you can spot the moment it happens. The paper darkens in one patch, the patch spreads, and the edges of it dry first.
So wipe the brush on the rim of the jar, then touch it once to a paper towel. You want the paper damp and faintly shiny, not standing with water. Cold press tells you which one you have. The finish is a light, even tooth, and when the hollows between the bumps are full while the tops still catch the light, that is enough. When the whole surface goes glassy, it is too much, and it will pool at the glued edges and dry darker there.
This matters for lifting, too, and this is the part beginners miss. A wash laid with too much water drives pigment down into the sizing of the sheet, and once it is in there you are not pulling it out. A wash laid on damp paper sits closer to the surface and gives you something to work with twenty minutes later.
Step 3: Learn the Stage When the Sheen Just Leaves
Lifting is a timing skill before it is a brush skill. I name four stages for my class. Shiny wet, when the surface throws the window back at you and moves if you tilt the block. Matte damp, when the shine has gone and the paper still feels cool and the color reads a shade lighter than it did wet. Cool dry, when it is dry to the touch but not yet stiff. Bone dry, when it is stiff and the color has settled into the tooth.
For lifting you want matte damp, or just past it. Lift too early and a wet brush pushed into a wet wash makes a bloom, which is not what anyone wanted. Lift too late and the pigment has set, and the best you will manage is a pale smear that looks like a mistake rather than a highlight. There is a narrow band in between, and the only way to find it is to test a corner with the back of your hand until you know what damp actually feels like.
My studio is a spare bedroom with one north-facing window and a folding table, and a light wash on a 7 by 10 Arches block is usually matte damp in five to eight minutes in winter, longer in July when the air in Frederick sits heavy. I do not time it. I test a corner with the back of a finger. If it feels cool, wait. If it feels like nothing at all, you are close.
Lifting is not erasing. The pigment is already in the paper. All you are doing is handing a little of it back to the water and taking it off with a thirsty brush.
Step 4: Lift With a Clean Damp Brush and a Light Hand
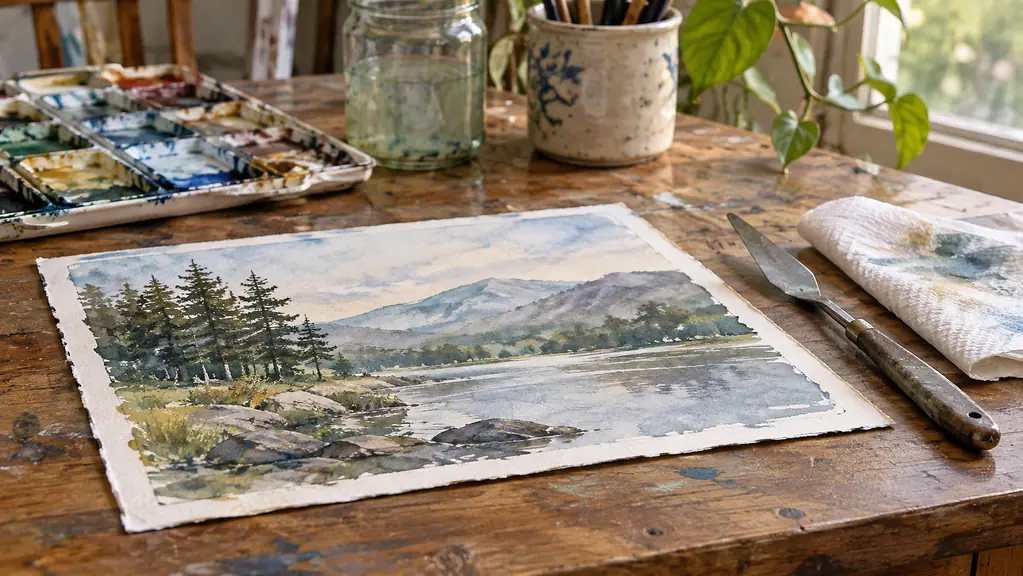
Rinse the brush until the water runs clear, then blot most of the water out of it. A dripping brush floods the area and creates a new hard edge where you did not want one. A merely damp brush drinks pigment up. Touch the area you want to lighten, hold for two or three seconds, and lift straight off. Do not scrub sideways. Cold press has a tooth, and a scrubbed brush fuzzes it, and a fuzzed surface cannot be repaired.
Blot the brush on the towel and go again. Each pass takes a little more. Three or four gentle passes will pull a wash back to a soft ghost of itself. What you will not get on cold press is the bare sheet. Pigment settles into the hollows of the texture and those hollows keep a stain no matter how patient you are. If you need a true light, plan for it and leave that area alone from the beginning. I lifted a cloud out of a sky last month and got it back to a soft gray, which was right for that painting. If I had wanted white, I would have painted around the cloud and never touched it.
To soften a hard edge that has already dried, wet the strip with clean water and a soft brush, wait for it to go matte, then lift as above. That is the only method I have found that does not damage the surface. For a small, controlled lift, a Pentel Aquash with plain water in the barrel is easier to steer than a round brush. I keep one in a zip pouch for exactly that.
Step 5: Dry the Block Flat and Free the Sheet Last
When a session ends, leave the block on the table. Do not prop it up to dry and do not set it near a radiator. Water runs to the low edge, the color collects there, and a block that dries unevenly can pull loose at one corner. Flat and level in ordinary room air is what you want, and it takes a few hours, or overnight if the wash was heavy.
Once it is fully dry, slide a palette knife under the top sheet and work it around all four edges, one at a time. You will hear the glue give. Then take a corner between two fingers, lift slowly, and let the sheet come free. If it fights you, one edge is still glued. Pulling harder will tear the sheet or cockle it, and you will have undone the flat surface you spent two hours working on. If one edge holds, slide the knife back in and run it again with the blade flat against the block.
I write the date on the back of each sheet I keep. Twenty sheets goes faster than you expect when you paint most mornings, and a pencil date saves you guessing later about which painting came before which.
What Else Helps
Brushes do more of this work than people expect. A goat hair round holds water and releases it slowly, which buys you a few extra seconds of workable wash. I rinse mine at the end of every session, reshape the point with my fingers, and lay them flat to dry. A brush left standing point up lets water run down into the ferrule and loosens the hair over time.
Keeping mixed color usable helps as well. I squeeze tube paint into an 18 well palette with a lid, let it set, and mist it before I start. The lid stays shut whenever I leave the table, and that is not only about drying out. I bought that palette the week my orange tabby walked through an open one and tracked ultramarine across a finished painting. I have not left a palette uncovered since.
And practice lifting on paper you do not care about. I keep a cheap spiral pad for class demos and for testing how a particular color behaves before I commit it to a block. Learning what a phthalo does when you try to take it back is a lesson better learned on a student sheet than on the good one.
Two jars of water instead of one is the other habit worth building. One for rinsing, one for clean water to load the brush. A single jar goes gray within twenty minutes, and gray water in a yellow wash gives you a dull yellow wash. It is a small thing and it costs nothing, and it changes the color you end up with.
The flat surface is decided before the first brushstroke
Arches cold press, 7 by 10 inches, 140 lb, 20 sheets glued on all four sides. Cylinder mould made and tub sized. If buckling is what keeps ruining your washes, start here and stop taping.
Amazon Check Today's Price on Amazon →